Introduction to HTML Button Tag
HTML Button Tag allows creating an active button control on a web page using the HTML document. This <button> element is declared within the body tag. Why do we need a button element? Normally, when a user accesses a web page, the most common thing he does is clicking somewhere in a website, leading to the next URL Page. To do so Button element cannot do by itself; it is created by a form action where the web forms have a default submit button click.
Buttons were created using <button>element; they function like <input> element with additional possibilities like adding content, images between the button tag. The content text pushed between the opening and closing tag is considered to be text on the button. Actions on the button are done using JavaScript or by using them with a form. And probably putting special styles to the button is done by CSS, but different browsers have a new special style.
Syntax:
Like other HTML tags, even button tags have both opening and closing tag, and the button type is defined using attributes.
<button>
// some stuff like content / image
</button>
Attributes of HTML Button Tag
No Special attributes have been used as they don’t have any required attributes; instead, they are used as an ordinary button with the type=” attribute “. Even this element is styled using CSS, with the properties to alter the changes in the button tag. Those properties are CSS font-family, Font-weight, Text-decoration, font-Style. Colouring properties like Background-color and, finally, layout properties like text-overflow, text-indent.
| S.no | Attribute Name | Description | Example |
| 1 | autofocus | It is considered as a Boolean attribute. | <button> autofocus <button> |
| 2 | disabled | Making a button non-clickable. | <button type=”button” disabled…>/button> |
| 3 | Form | It Creates a form | <form>…</form> |
| 4 | formaction | It specifies the current location for submitting the form data. | <form action =: https://…” > </form> |
| 5 | formnovalidate | Appears in gray color and gives non-validation features. | <button type=” submit” formnovalidate> |
| 6 | Formmethod | It specifies the methods while referring to the next web page(get, the post of HTTP methods) | <button type=”press” form method =”get” > </button> |
| 7 | formtarget | It specifies the target path for the server response when a form action is done. | <button type=”press” formtarget= ahref </button> |
| 8 | formenctype | It has been used when a form is submitted to the webserver for the response it activates the type of content is used. | <button type=”submit” formenctype = “multipart/form-data”> …..</button> |
| 8 | name | It specifies the button name used in the form element, which is used by form inputs. | <button type=”submit” name =” “ |
| 9 | type | It specifies the type of button been used. It has three default values submit, reset, text. | < button type “……” > |
| 10 | value | It gives initial value when a button is used along with the form data | <button type=”submit” name =” “ value = “ “> |
| 11 | tabindex | It specifies the tab key, and the order does the preference. | |
| 12 | onclick | When a button is pressed, it runs a small javascript code behind. | <button onclick=” “> |
Examples to Implement in HTML Button Tag
Below are the examples of implementing in HTML Button Tag:
Example #1
Code:
<!DOCTYPE html> Popular Course in this categoryHTML Training (12 Courses, 19+ Projects, 4 Quizzes)12 Online Courses | 19 Hands-on Projects | 89+ Hours | Verifiable Certificate of Completion | Lifetime Access | | 4 Quizzes with Solutions
<html lang="en">
<head>
<title> HTML button tag Example</title>
</head>
<body>
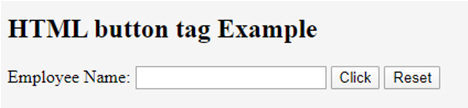
<h2>HTML button tag Example </h2>
<form action="/examples/html/action.php" method="post">
<p>
Employee Name: <input type="text" name="Employee-Name">
<button type="submit" value="Submit">Click</button>
<button type="reset" value="Reset">Reset</button>
</p>
</form>
</body>
</html>
4.5 (6,502 ratings)Course Price
₹6999 ₹41999
View Course
Related CoursesBootstrap Training (2 Courses, 6+ Projects)XML Training (5 Courses, 6+ Projects)CSS Training (9 Courses, 9+ Projects)
Output:
Example #2
Code:
<!DOCTYPE html>
<html>
<head>
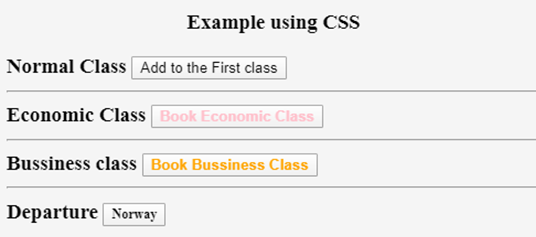
<h3> <center> Example using CSS </center><h3>
</head>
<body>
Normal Class
<button type="button">Add to the First class</button>
<hr />
Economic Class
<button type="button" style="color: pink;"><b> Book Economic Class </b></button>
<hr />
Bussiness class
<button type="button" style="color: orange;"><b> Book Bussiness Class </b></button>
<hr />
Departure
<button type="button" style="font: bold 12px Open Sans;">Norway </button><br />
</body>
</html>
Output:
Example #3
With CSS: Here, we have used padding, margin property. Here are some ways to look at the page better. To have a rounded corner in the button border-radius is used.
Code:
<html>
<style>
body {
color: #000;
height: 90vh;
background: linear-gradient(-90deg, #a1c3d1 0%, #c48b9e 100%) no-repeat;
text-align: center;
}
input {
width: 280px;
display: block;
margin: 2rem auto;
border: 3px solid #fbc7ff;
padding: 7px;
background: transparent;
border-radius: 25px;
outline: none;
}
::placeholder {
color: #00ced1;
}
.btn {
background:#96f905;
border: none;
height: 3rem;
border-radius: 20px;
width: 220px;
display: block;
color: #96f905;
outline: none;
margin: 2rem auto;
}
</style>
<body>
<h1>HTML Form action Using Button</h1>
<form action="/action_page.php" method="get">
<input type="text" name=" Full Name" placeholder="Enter Full Name" class="btn">
<input type="text" name=" Address" placeholder="Enter Address" class="btn">
<button type="press" value="Press"> Click </button>
</form>
</body>
</html
Output:
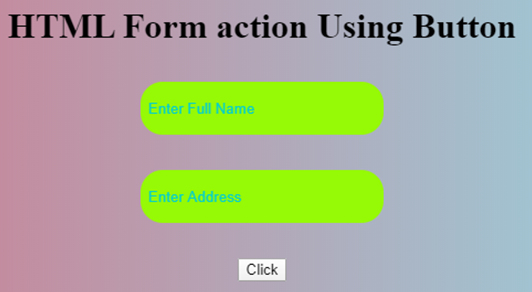
Note: You can also increase the button size by giving < button type=” button” style=: font-size: 30px”>. btn in the above code is the bootstrap function class.
Example #4
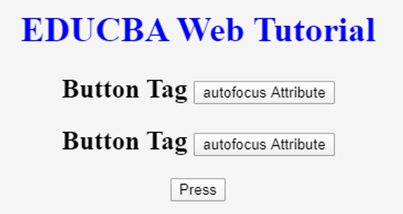
The below example shows how to use the attribute autofocus with button element; in an example, when a page Loads, it focus on the first HTML control.
Code:
<!DOCTYPE html>
<html>
<head>
<title>
Button Demo
<button>autofocus Attribute
</title>
</head>
<body style="text-align:center">
<h1 style="color: blue;">
EDUCBA Web Tutorial
</h1>
<h2> Button Tag
<button>autofocus Attribute
</h2>
<h2> Button Tag
<button>autofocus Attribute
</h2>
<button id="GFG"
autofocus>
Press
</button>
<br>
</body>
</html>
Output:
Example #5
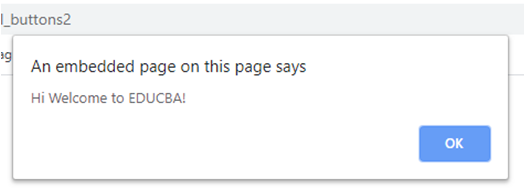
onclick attribute demo. In the below example, I have used JavaScript to take action in the button; meanwhile, it alerts a dialog box with a text message. The JavaScript function is used here to take the deciding action. onclick () is to make the button in action.
Code:
<!DOCTYPE html>
<html>
<head>
<title>HTML  On Click Button Demo</title>
</head>
<body>
<h3> HTML  On Click Button Demo</h3>
<button onclick="alert('Hi Welcome to EDUCBA!')"> Press me... </button>
</body>
</html>
Output: Before button press
Alert Message – After Button click
Example #6
Code:
<!DOCTYPE html>
<html>
<head>
<script type="text/javascript" src="scripts.js">
</script>
<link rel="stylesheet" href="styles.css">
<script type="text/javascript" src="scripts.js"></script>
<link rel="stylesheet" href="styles.css">
</head>
<body>
<p>The button loads to the next web page!</p>
<a href="https://www.educba.com" target="_blank">
<button>Submit!</button>
</a>
</body>
</html>
Output:

Conclusion
Therefore, we have seen the HTML Button tag, which is used to trigger any action and it is used to submit the content of the text in the HTML document. Being important aspects with respect to the website creates an easy button along with CSS and JavaScript to look colorful. You can also learn many options related to buttons.
Recommended Articles
This is a guide to HTML Button Tag. Here we discuss Attributes in button tag and examples to implement with proper codes and outputs. You can also go through our other related articles to learn more –