Introduction to HTML text link
An HTML link can be a link or a hyperlink. This is used to redirect to another page, image, websites; it can be anything. They also used to navigate on the same page for the particular section. They used to render data, document just by clicking them. We just wrap our document, images, url or data inside text. It can also point to a file, object, or anything on the same page or on a different page depends upon the requirement. When we hover the mouse over the HTML link, it changes the cursor to some different icon. We can discuss how they work and how to create them in the next section of our article. In this topic, we are going to learn about HTML Text Link.
Syntax for HTML Link
We can follow to create our very first HTML Link from the following syntax below. In the given syntax below, we are going to use a different tag, attributes, and their corresponding properties.
<a href="your url">Link your corresponding text here</a>
In the above syntax, we are using the anchor tag to create an html link or a hyperlink. We will discuss this anchor tag in detail.
The anchor tag is a tag through which we can attach or link our text, phrase or word to create an external or internal link. By using anchor tag, we create URL into our pages that can be used to navigate to any other page, website or within the same section on the page.
By using the anchor tag, we have many advantages that are mentioned below.
- Organize: It helps to organize our data. We do not need to make several web pages, also do not need to split our data into chunks for managing purposes; we can easily organize our data in one place only.
- No Scrolling: By using the html link or html internal links, we do not need to worry about scrolling on really long pages; we can just click on that link to find the desired section page. So it makes it easy to find any data or section on the page.
How to Create an Anchor Tag?
As you can see in the above syntax, we have used so many things over there now; we will have a closer look at how to create and how it works. Popular Course in this categoryHTML Training (12 Courses, 19+ Projects, 4 Quizzes)12 Online Courses | 19 Hands-on Projects | 89+ Hours | Verifiable Certificate of Completion | Lifetime Access | | 4 Quizzes with Solutions
4.5 (6,502 ratings)Course Price
₹6999 ₹41999
View Course
Related CoursesBootstrap Training (2 Courses, 6+ Projects)XML Training (5 Courses, 6+ Projects)CSS Training (9 Courses, 9+ Projects)
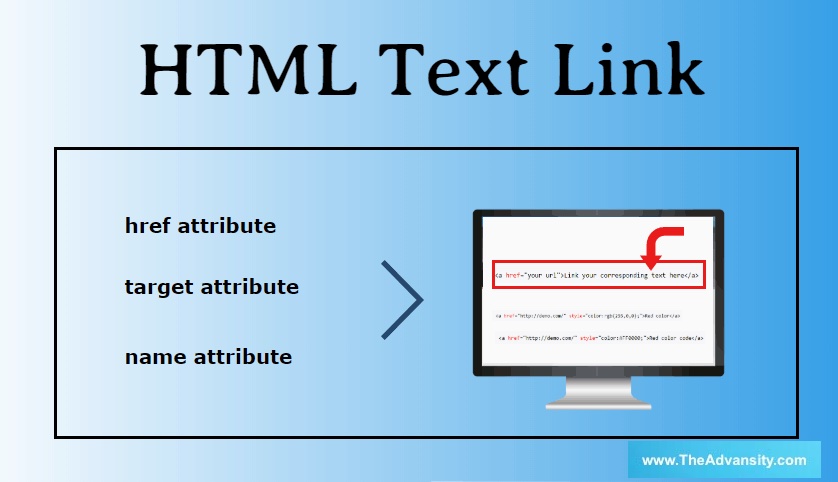
Basically, it consists of three different parts (attribute):
- href attribute
- target attribute
- name attribute
1. href attribute
Href attribute stands for hypertext reference. Suppose we want to create a hyperlink, so the first requirement is a document address that can be anything like another website, any file such as PDF, etc.
So for example : <a href="http://www.google.com">Google</a>
In this http://www.google.com is the value we are assigning to our href attribute. So whenever we click on Google, it will redirect us to the google home page link. Hence href attribute contains the document address. We can also mention our own HTML link to href.
For example
<a href="demo.html">My page</a>
2. target attribute
The target attribute defines how the document will open. It has many types, and we can use them according to our needs.
- _parent: It just opens the attached document into the parent frame.
- _blank: It opens the document into the new tab or window.
- _top: It opens the attached document in the full window.
- _self: It opens the document into the same window or same tab in which it is clicked. The default this target is enabled. We can modify it like below :
<a href="http://www.demo.com" target="_blank" rel="noopener">Your Link text</a>
Here target=”_blank” is the syntax for using it.
3. name attribute
The name attribute is used to jump or navigate to some point on the page; this can be useful when we have a VRU large page with so many contents. This helps to save user finding and time without scrolling. Syntax below:
<a name="to end"></a> or
In this e simply click to go to the end of the page without scrolling down.
<a href="#SomeSection">Section</a>
This browser will identify the section, but we need to use (#) with the name attribute.
<a href="otherpage.html#title">Link your text</a>
By this, we can refer to the “title “of some another page internally. Here also (#) needs to be used at the end of the address of the page.
HTML link Colors
We can also provide colors to our html link. By default, they have three states for link color; this will appear in all browsers.
- Active link: When we click on any link, it becomes an active link with an underlined and red color.
- Unvisited links: Standard browser default color for the unvisited links are blue and underlined.
- Visited links: These are purple and underlined.
But we can also provide our custom colors to link using the below syntax. We can follow this different type to provide color to our link. But we are using inline CSS here; if you want, you can also create external CSS.
- Directly provide the name of the color.
- By using the HEX color code.
- By using rgb() and rgba() values.
- By using hsl and hsla() values.
<a href="http://demo.com/" style="color:blue;">Red Link</a>
In this, we can directly specify the color name into the style attribute. This is an inline CSS.
<a href="http://demo.com/" style="color:#FF0000;">Red color code</a>
Here we are specifying the color by using color codes. (HEX color codes)
<a href="http://demo.com/" style="color:rgb(255,0,0);">Red color</a>
We can also use RGB() values to specify the color for our links. We can control the opacity of the color by using rgb().
<a href="http://demo.com/" style="color:rgba(255,0,0,0.4);">Red color</a>
We can replace rbg() with rgba(), but we need to specify the fourth value for transparency and opaque.
<a href="http://demo.com/" style="color:hsl(0,10%,50%);">Red color</a>
We can also use HSL t color our link. HSL basically stands for hue, saturation, and lightness. We can also use HSLA of specifying color, but we need to provide one more parameter in hsla().
Conclusion – HTML Text Link
So in Sort, we use the anchor tag and its attributes to create the hyperlink or link in HTML. HREF contains the address of the document, the target who is responsible for handling the document. We can also color our link using inline or external CSS.
Recommended Articles
This is a guide to HTML Text Link. Here we discuss the How to Create an Anchor Tag with the HTML Link Colors and the Syntax for HTML Link. You may also have a look at the following articles to learn more –